So, you’ve been given the privilege of providing SEO services to a new client – good news, but where do you start? In this article I’ll list and explain the first top 10 website optimization steps you can take when approaching an existing site with mostly decent existing ranking and traffic statistics. Following along, you can avoid completely wiping your current rankings off the map through any tasks you perform.
Finding out where to start an SEO project can be stressful, especially if semi-decent rankings and traffic stats already exist. Your best bet is to begin the optimization process in areas that will increase rankings and traffic if anything at all, instead of doing something that will decrease them.
Before I begin, an example of an optimization task that may, or would probably seriously affect your rankings would be title optimization changes. If a site has stable traffic and rankings, you’ll want to put off optimizing your page titles until other areas of the site have been optimized first and after you’ve completely studied your current titles and meta descriptions and studied the search results too. This will allow you to use that time to further familiarize yourself with the brand, related keywords, search intent and sub-niches among other things.
Below are the top 10 areas you can optimize first before moving onto the more major areas.
Start with these 10 optimization tasks
- Optimize page speed
- Optimize images
- Alt and title attribute optimization
- Removing links to development agencies from footer
- Add a privacy policy page
- Check for errors at W3C
- Add a reviews page
- Check for dead links
- Add an XML sitemap
- Submit your website to 3 quality business directories
Read below were I elaborate on the 10 points above:
1. Optimize page speed
You cannot and will not go wrong if you test and optimize your site for high page-load speeds. You want your home page and all internal pages to load as fast as possible and chances are if you’ve been hired to do SEO services for a site, they probably haven’t had their site optimized for page speed yet. If anything – if they’re rankings are somewhat stable – page speed optimization will most likely only give you a boost in traffic and rankings.
Here are some quick steps you can perform:
- minify your css, HTML and JS as much as possible
- compress any PDF files you may be linking to
- move JS files that can be moved to the bottom of your code (requires testing)
- discover and remove unnecessary code – if you’re using WordPress add this code to your functions.php (and test)
- optimize your .htaccess file according to page speed recommendations (do a little research on this task)
This could very well be one of the most important tips in this post. Rather than following the points I listed above, you can also follow the instructions after the results of a page speed test on Google’s site. After the test, they’ll list most of the page speed optimization upgrades you can do. This may prove to be a pretty big task but the end result could prove to give you better rankings and traffic to your website pretty swiftly.
Note optimizing for page speed is no easy task. Depending on who you are (business owner, SEO or technical SEO) you may have to hire a developer to do the work, or if you’re lucky enough to know how to code, you can do it yourself.
Technically speaking, optimizing for page load speeds can only benefit your website visitors and their experience on your website, so go for it. You’ve got nothing to lose by making your website load fast, especially for people that are visiting your website on small devices and tablets.
2. Optimize images
 There are a few ways to optimize your images. One way is by reducing their file site (without reducing quality) and this can be done by using a program like JPEGmini. JPEGmini will strip away all your image file’s meta data which will substantially reduce the size of the file and thus help your pages load faster.
If you can’t yet afford to purchase JPEGmini, you can use their free service on their website but buying it is a great investment. You can drag and drop the entire WordPress media folder (or any folder of images) into the software and it will reduce the file size of all your images in bulk and fast.
Another way to optimize your images is by reducing their width/height dimensions to the exact dimensions they’re being displayed at on your site. In other words, if you are displaying an image that’s coded to be displayed at 400px by 400px, reduce the width and height of your image to 400px by 400 px.
Don’t use a 1600px by 1600px image within the image tag that’s displaying the image much smaller. Reformatting the size of your images can take long, but you’ll be happy you did and you’ll definitely reap the results – and so will your website visitors.
Pro Tip
If you have JPEGmini, and you’re using WordPress, download your media folders in /wp-content/ and run it through the software. Once it’s done reducing the size of all the images in that folder, re-upload it.
3. Alt and title attribute optimization
 People frequently mistaken alt and title attributes as alt and title tags of an image. They are not. They are attributes of the image. With that said, if you’ve found many or all of your image tags are missing title or alt attributes, feel free to populate them.
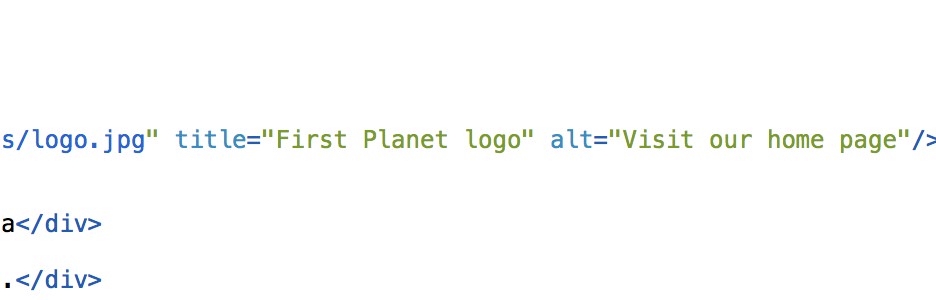
A decent non-spammy convention to follow is to make the title attribute’s value-copy that describes the image, with the alt attribute explaining the function of the image; i.e. for a logo image, you can fill your alt and title attributes as such:
- alt=”Visit our home page”
- title=”Business name logo”
For images that compliment the copy, for instance if you’re a renovation company and you have a picture of hardwood floors, your alt and title attributes would be as follows:
- alt=”Hardwood floor example”
- title=”We provide hardwood floor services”
Think of an image title attribute the same as the title of a document. Don’t be spammy, and don’t leave those attributes empty. Fill them up and you may actually experience a boost in your rankings and traffic (but no promises).
4. Removing links to development agencies from footer
 If your website or your client’s site has a link in it’s footer pointing to their web design company, get in there and remove it. There are a few accepted best practices when it comes to SEO that have been developed or discovered over the years, and two of them are in relation to footer links, and footer links pointing to other website.
Simply put, footer links should be at a minimal. It’s OK to have a footer link to your home page, a reviews page link, a link to your privacy policy, and one to your contact page. However, it’s not a good idea to link to your web development company’s website and not even advisable to mention them because they’re not relevant to you or your services. Some even believe that a link to your web developer’s site could actually hurt their rankings too. I’m not too sure how true that is 100% of the time but there’s a lot of reasons to believe it.
I have found that adding rotating recent blog post section in the footer hasn’t had any negative consequences for a number of our clients. This could be attributed to the posts constantly changing (they rotate out once a new article is posted) or that the sites in question are performing optimally across other areas.
Keep the links in your footer to a minimum, and ensure your visitors are getting most the information they need at the top of your pages.
5. Add a privacy policy page
Search engines love privacy pages. Some users do too. In some parts of the world, placing a privacy page on a commercial website is the law and Google highly suggests adding one.
There are hundreds of websites that will help you generate a privacy page (here’s a really details privacy page generator), and customize it with your business data, and specific rules and visitor policies.
Make sure not to spam your privacy page either. There’s absolutely no reason to promote yourself, your business or your keywords. It should just be accurate, pertinent and be visibly linked to in the footer of your website or on your contact page. A good practice is to add the current date to it every time you update it because some users like knowing that information.
6. Check for errors at W3C
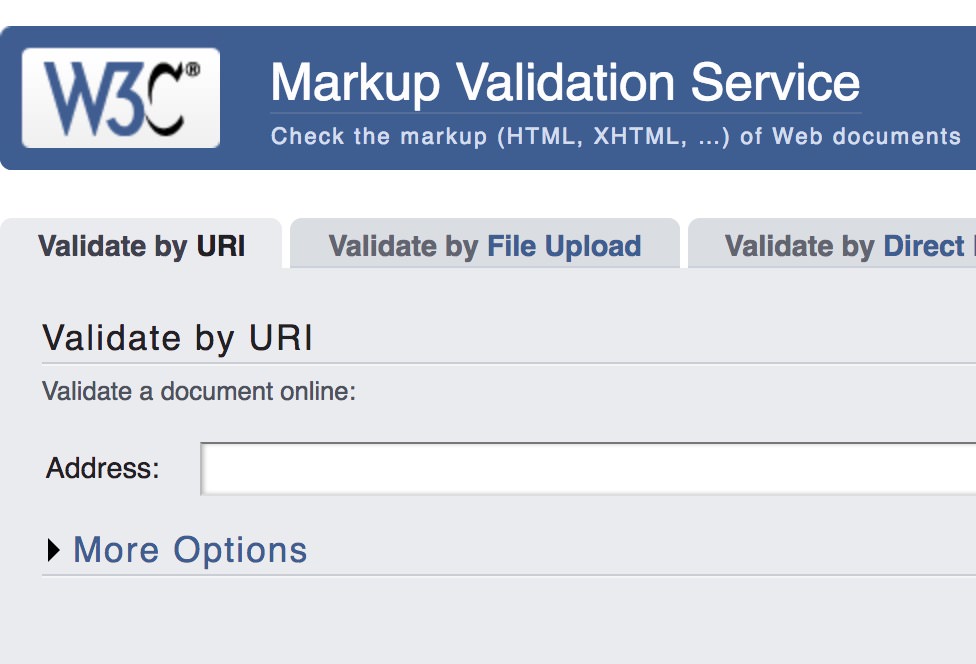 This is good advice. Go ahead right now and visit the W3C website validator, submit your website and see if the validator finds any errors or warnings. Chances are it has a few errors, especially if it hasn’t been updated in ages. Most of the time the errors it finds won’t be too critical but they can be. In such cases do your best to get those error rectified as quickly as possible.
The validator will also show you any warnings which don’t always mean there’s a technical problem with your site, but they should be addressed as much as they can be. If you’re a stickler you can do your best to fix all warnings, and after doing so, you will feel better that you have; just don’t feel too bad if there are warnings you can’t fix.
Fixing any errors found at W3C won’t negatively affect your current rankings, and if you’re lucky fixing them up could actually improve them. Make sure to check your site for errors a few times a year just to ensure everything is in check.
7. Add a reviews page
As I mentioned in a previous article, for many businesses, it’s a great idea to create a reviews page on the website. You can read that article for more details on the marketing and SEO benefits of a reviews and feedback page, but with respect to the topic of this article, the benefits of getting a review page started far out-weigh the potential ranking drops you could experience from creating one.
As long as your introductory content is unique to the rest of the content on your site, explains to your users what the page is about, and who should use it to leave feedback, you’ll be fine. Make sure to mention your brand name in the introductory paragraph to substantiate that the page is about reviews for that brand.
After creating the page, place a link to it in your footer, and as soon as possible start sharing the link with your past customers while asking them to leave a review. Also promote this page as much as possible to your customers.
The addition of this page will mostly only help you in the search results instead of negatively affecting you the way any drastic changes can.
8. Check for broken links
Another simple but effective task is to check for broken links. Fixing broken links will increase the quality of your website for your users and it’s quite an easy task especially if you use a broken link checker like the following https://www.deadlinkchecker.com/ which is completely free.
If your report comes back showing you have broken links to fix, go ahead and do so and make sure to check for broken links a few times a year to make sure everything is in in order. Sometimes when we make edits or adjustments to a site we accidentally mess up our linking structure.
Pro Tip: if you have any existing redirects (e.g. 301 or 310) between old and new pages, go in and remove them all first. The reason you want to do this is because some broken link checkers will follow the redirected link instead of listing it as broken. In other words, if one of your links points to a page that redirects to another page, it’s much better if you fix that link and make sure it points to the new page.
Once you’ve run your report, and fixed the dead links, you can re-upload your existing redirects.
9. Add an XML sitemap
 An XML sitemap is an invisible (invisible to the typical user) file that is stored on your website server and lists all the pages and posts on your website. Search engines use this file to help them discover all your pages – pages which they may not have been able to find on your website for various technical reasons. If your website is being powered by WordPress, we suggest you use the Google XML Sitemaps plugin.
If you’re not using WordPress, you can visit https://www.xml-sitemaps.com/ and add your website. It will generate an XML sitemap of all the pages and posts of your site for you. You can download it, and then re-upload it to the root directory (main directory) of your website server.
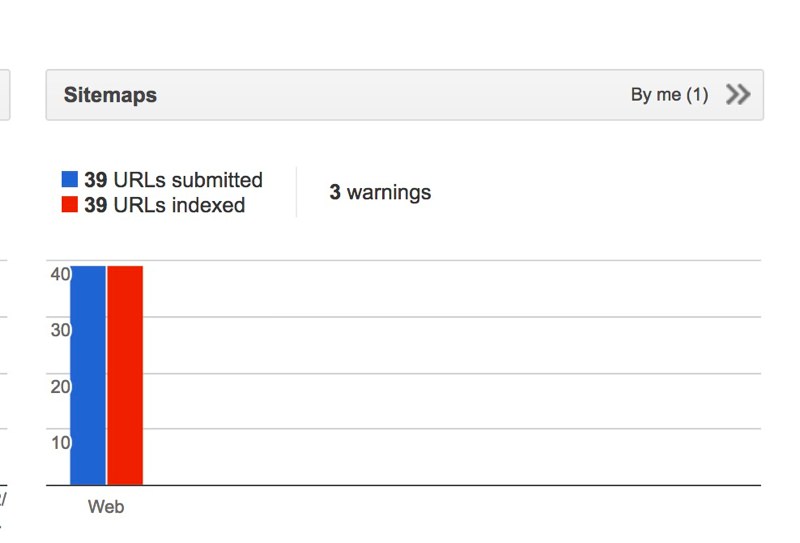
Once you’ve either installed the plugin or manually generated your XML file and uploaded it, it’s a good idea to visit your Google Webmaster Tools account, click to the XML sitemaps section, and submit the URL of your sitemap there. Doing so will generally push things along when it comes to provoking Google to crawl your content. As soon as you log into Google Webmaster Tools you’ll see the image that’s embedded in this section. Click the right-pointing arrows, and follow the instructions.
If you’re website is powered by WordPress, the URL to your XML sitemap will be yourdomain[com]/sitemap.xml (you’ll see that in the plugin settings). If your website is not powered by WordPress, and you follow the instructions laid out above, the URL of your sitemap should be the same.
10. Submit your website to 3 quality business directories
Submitting your website, business details and contact information to a quality business style directory will only lead to a boost in rankings if anything. That’s not a promise but its highly likely. Even if you’ve done this before, do it again. Find 3 more quality directories and submit your website details; and during this round, ensure all the business-description content you submit is completely original.
Here are 3 business directories you can submit to without worrying about the quality if your back-links being negatively affected:
- Yelp
- HotFrog
- LinkedIn (log in with your personal account, and add your business)
You can, and should also ensure you’re signed up with these services:
- Bing Webmaster Tools
- Bing Maps
- FourSquare
If you haven’t created the following social media accounts to represent your business get started, and make sure to add your web address to your profiles:
For the social media accounts, make sure to customize them as much as possible and post a couple initial posts to them to get started. From there try to post at least once or twice a week. We can almost guarantee if you do you’ll see positive results.
Up next
So there you have it. In my next article on this subject, you’ll find the top 10 tasks you can perform on your website that may cause initial ranking drops but still should be considered, and most likely need to be done. Ciao for now!
Recent Articles
WooCommerce Script to Show Product Subcategory Thumbnails
As SEOs we want to take advantage of all the WooCommerce customization options available through custom coding so we can provide users with the best...
How To EASILY Track PDF Downloads & PDF Reads
Tracking PDF views in Google Analytics can involve an extremely complex setup using Google Tag Manager, but there is another easier way. To do this...
Leave a Reply